AWS EC2 instances will get a new ip on every restart by default. If you’re going to be pointing DNS records at your instance you’re going to need a static (or in AWS parlance elastic) IP.
Obtaining an Elastic IP
First you need to request an IP from amazon.
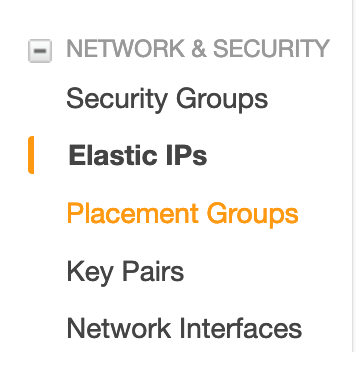
Head over to the elastic IP tab
And select allocate new address, then choose from amazon pool.
AWS will charge you a small fee per hour if you do not use your Elastic IP, so don’t reserve a bunch of them without using them.
Getting DNS Ready
If you have DNS records pointing at your old ephemeral IP you’re going to need update them. If you have an A record pointing to your old IP say 33.34.35.36 you can add a new line to that A record with your new IP say 44.45.46.47. Modern browsers will try the second A record if the first one fails. This helps ensure you don’t have downtime.
After you’ve done this you need to wait a day or two. Seriously. Do nothing. Continue a day or two later when your new records have propogated. If you don’t wait you’ll find that many users are trying to access your site(s) from the old IP they have cached locally.
Assigning the IP
After you’ve received your elastic IP you need to assign it to your instance. Be warned your old IP is gone after you associate the new one. Make sure all services using it have been updated before associating the new elastic IP.
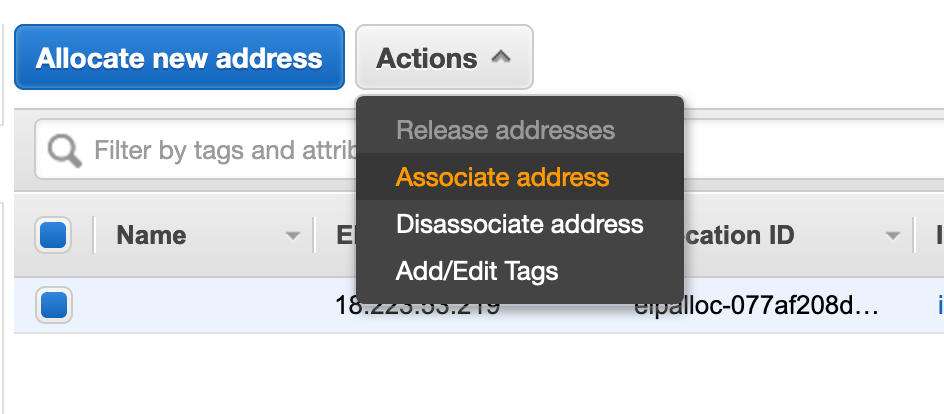
Simply select the elastic IP, click actions, associate, and select your instance.
You’re done!